
A meticulously chalked baseball batter’s box is not only essential for a well-maintained field, but it also plays a crucial role in determining the outcome of the game. Ever wondered how those crisp, clean lines are achieved? In this blog post, we’ll reveal the secrets behind “how to chalk a baseball batter’s box” like a pro, ensuring accuracy, durability, and safety for all players on the field.
From prepping the baseball field to mastering the art of applying chalk, we’ll walk you through the entire process, step by step. By the end of this post, you’ll be well-equipped to transform your local baseball field into a major league-worthy battleground using the techniques of how to chalk a baseball batter’s box.
Prepare the baseball field by clearing debris and leveling the playing surface.
Use appropriate chalk, string lines, and templates to create professional-looking batter’s boxes.
Adhere to best practices for chalking such as proper storage of materials and safe application techniques.
Before you even consider picking up that chalk, it’s essential to prep the baseball field for an accurate chalking job and safe gameplay. A well-prepared field is the foundation for the batter’s box, foul lines, and other essential markings that guide both players and umpires during the game.
Prepping the field involves two crucial steps: clearing debris and leveling the playing surface. Removing debris is vital for safety and precise chalking, ensuring the batter’s box and fair territory are well-maintained. Meanwhile, leveling the playing surface helps maintain consistent chalk lines and provides a safe environment for players.
The most efficient method of removing debris from a baseball field is to rake debris into manageable piles and then collect them with a scoop shovel. Don’t overlook the inside edge of the batter’s box, as it’s essential to clear this area for accurate chalking.
If you’re working on a minor league field, you may also find it helpful to utilize a leaf blower or a pull-behind drag to clear debris before the game begins. Once the debris is removed, it’s crucial to ensure that no debris remains, providing the perfect canvas for your chalking masterpiece.
Leveling the playing surface not only helps maintain consistent chalk lines, but also provides a safer environment for players. To level a baseball field, use a leveling rake to displace material from a higher area and deposit it in a lower area.
If the infield mix is dry, moisten the freshly leveled area and tamp it down to ensure it’s securely fixed. Finally, employ a mat drag to achieve the desired texture and even out any visible depressions.
With the field prepped, it’s time to gather the essential tools for chalking, including fresh chalk. But first, you might wonder how much chalk you’ll need for the task.

To achieve professional-looking batter’s boxes, you’ll need the right tools for the job. These include selecting the appropriate chalk and using string lines and templates for accurate measurements.
Let’s delve deeper into the importance of choosing the right chalk and how to use string lines and templates to create straight and consistent chalk lines.
Selecting the appropriate chalk is crucial for visible and long-lasting lines on your field. Limestone-based chalk is commonly used for chalking a batter’s box, but it’s not the best choice. Paint is a preferable alternative, as it lasts longer and doesn’t leave marks on players’ uniforms.
Limestone-based chalk is cost-effective and easy to apply, but its longevity is inferior to paint, and it can potentially stain players’ uniforms. While paint is more expensive and requires more time for application, it is more durable and doesn’t cause any discoloration on players’ uniforms.
Ultimately, using paint for chalking a batter’s box ensures a professional look that lasts throughout the game.
String lines and templates are essential for creating straight and consistent chalk lines for the batter’s box and other field elements. To position pins and secure a string line effectively, place them at the corners of the batter’s box. Tie a string to the pins by looping it around each pin and securing it with a knot.
Align the string with the edge of the plate by ensuring it’s parallel to the edge of the plate leading to the first base. Once the string line is in place, pull it taut and run a chalk line along the string to create a straight line on the ground.
With the proper tools in hand, it’s time to learn how to chalk a batter’s box step by step.
Chalking a batter’s box may seem like a daunting task, but with the right tools and techniques, it’s a breeze. Our step-by-step guide will walk you through measuring and marking the area, applying chalk, and double checking measurements for accuracy.
By following these steps, you’ll be well on your way to creating a pristine batter’s box that will impress players and spectators alike.
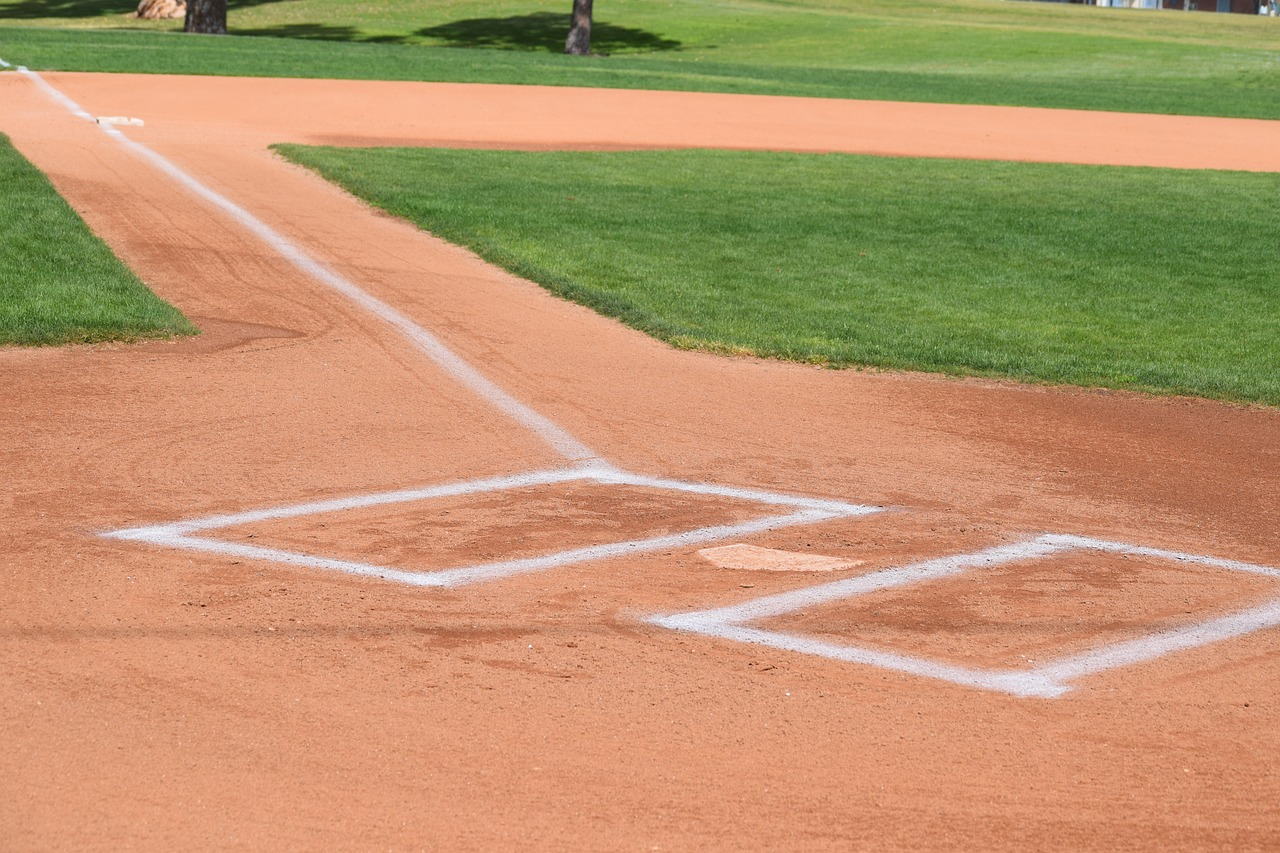
Measuring and marking the batters box is critical to ensuring proper dimensions and placement on the field. Following official rules and regulations, the batters box should be 6 or 7 feet in length and 4 feet in width, with its center aligned with the center of home plate.
To mark the sides of the batter’s box, chalk the points at the back of the batter’s boxes at the seven-inch mark in from the inside back corners. Once the area is marked, it’s time to apply the chalk to create visible lines on the field.
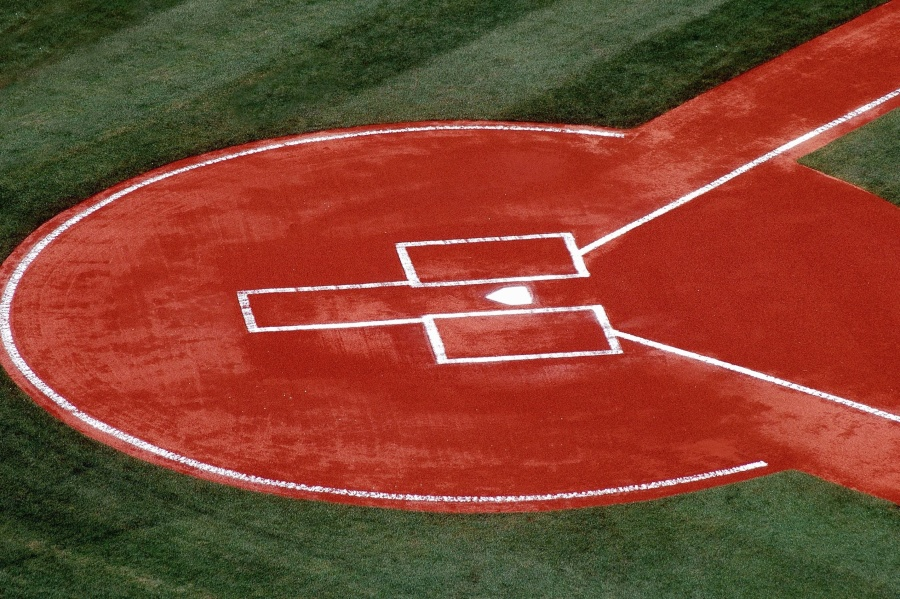
Applying chalk to the marked area is essential for creating visible lines for players and umpires. Utilize a line chalker or an applicator pad to distribute a thin layer of chalk evenly over the designated region. White chalk is the recommended option for marking.
When applying chalk, use even strokes and ensure the lines are straight. This will create a clean and professional appearance on the field, making it easier for players to recognize their position and for umpires to make accurate calls.
Double-checking measurements after chalking is crucial to ensuring accuracy and compliance with league regulations. To verify the alignment of the batter’s box with home plate, measure the length and width of the batter’s box and confirm that the center of the box is aligned with the center of home plate.
By comparing your measurements to the league’s rules, you can guarantee adherence and avoid potential penalties during gameplay. With the batter’s box accurately chalked, it’s time to focus on additional field elements.
A well-maintained and organized playing field in the major leagues includes more than just a pristine batter’s box. Foul lines, the catcher’s box, and coaches boxes also play a vital role in guiding players and umpires during the game.
In this section, we’ll explore the importance of chalking these additional field elements and the techniques used to create accurate markings.
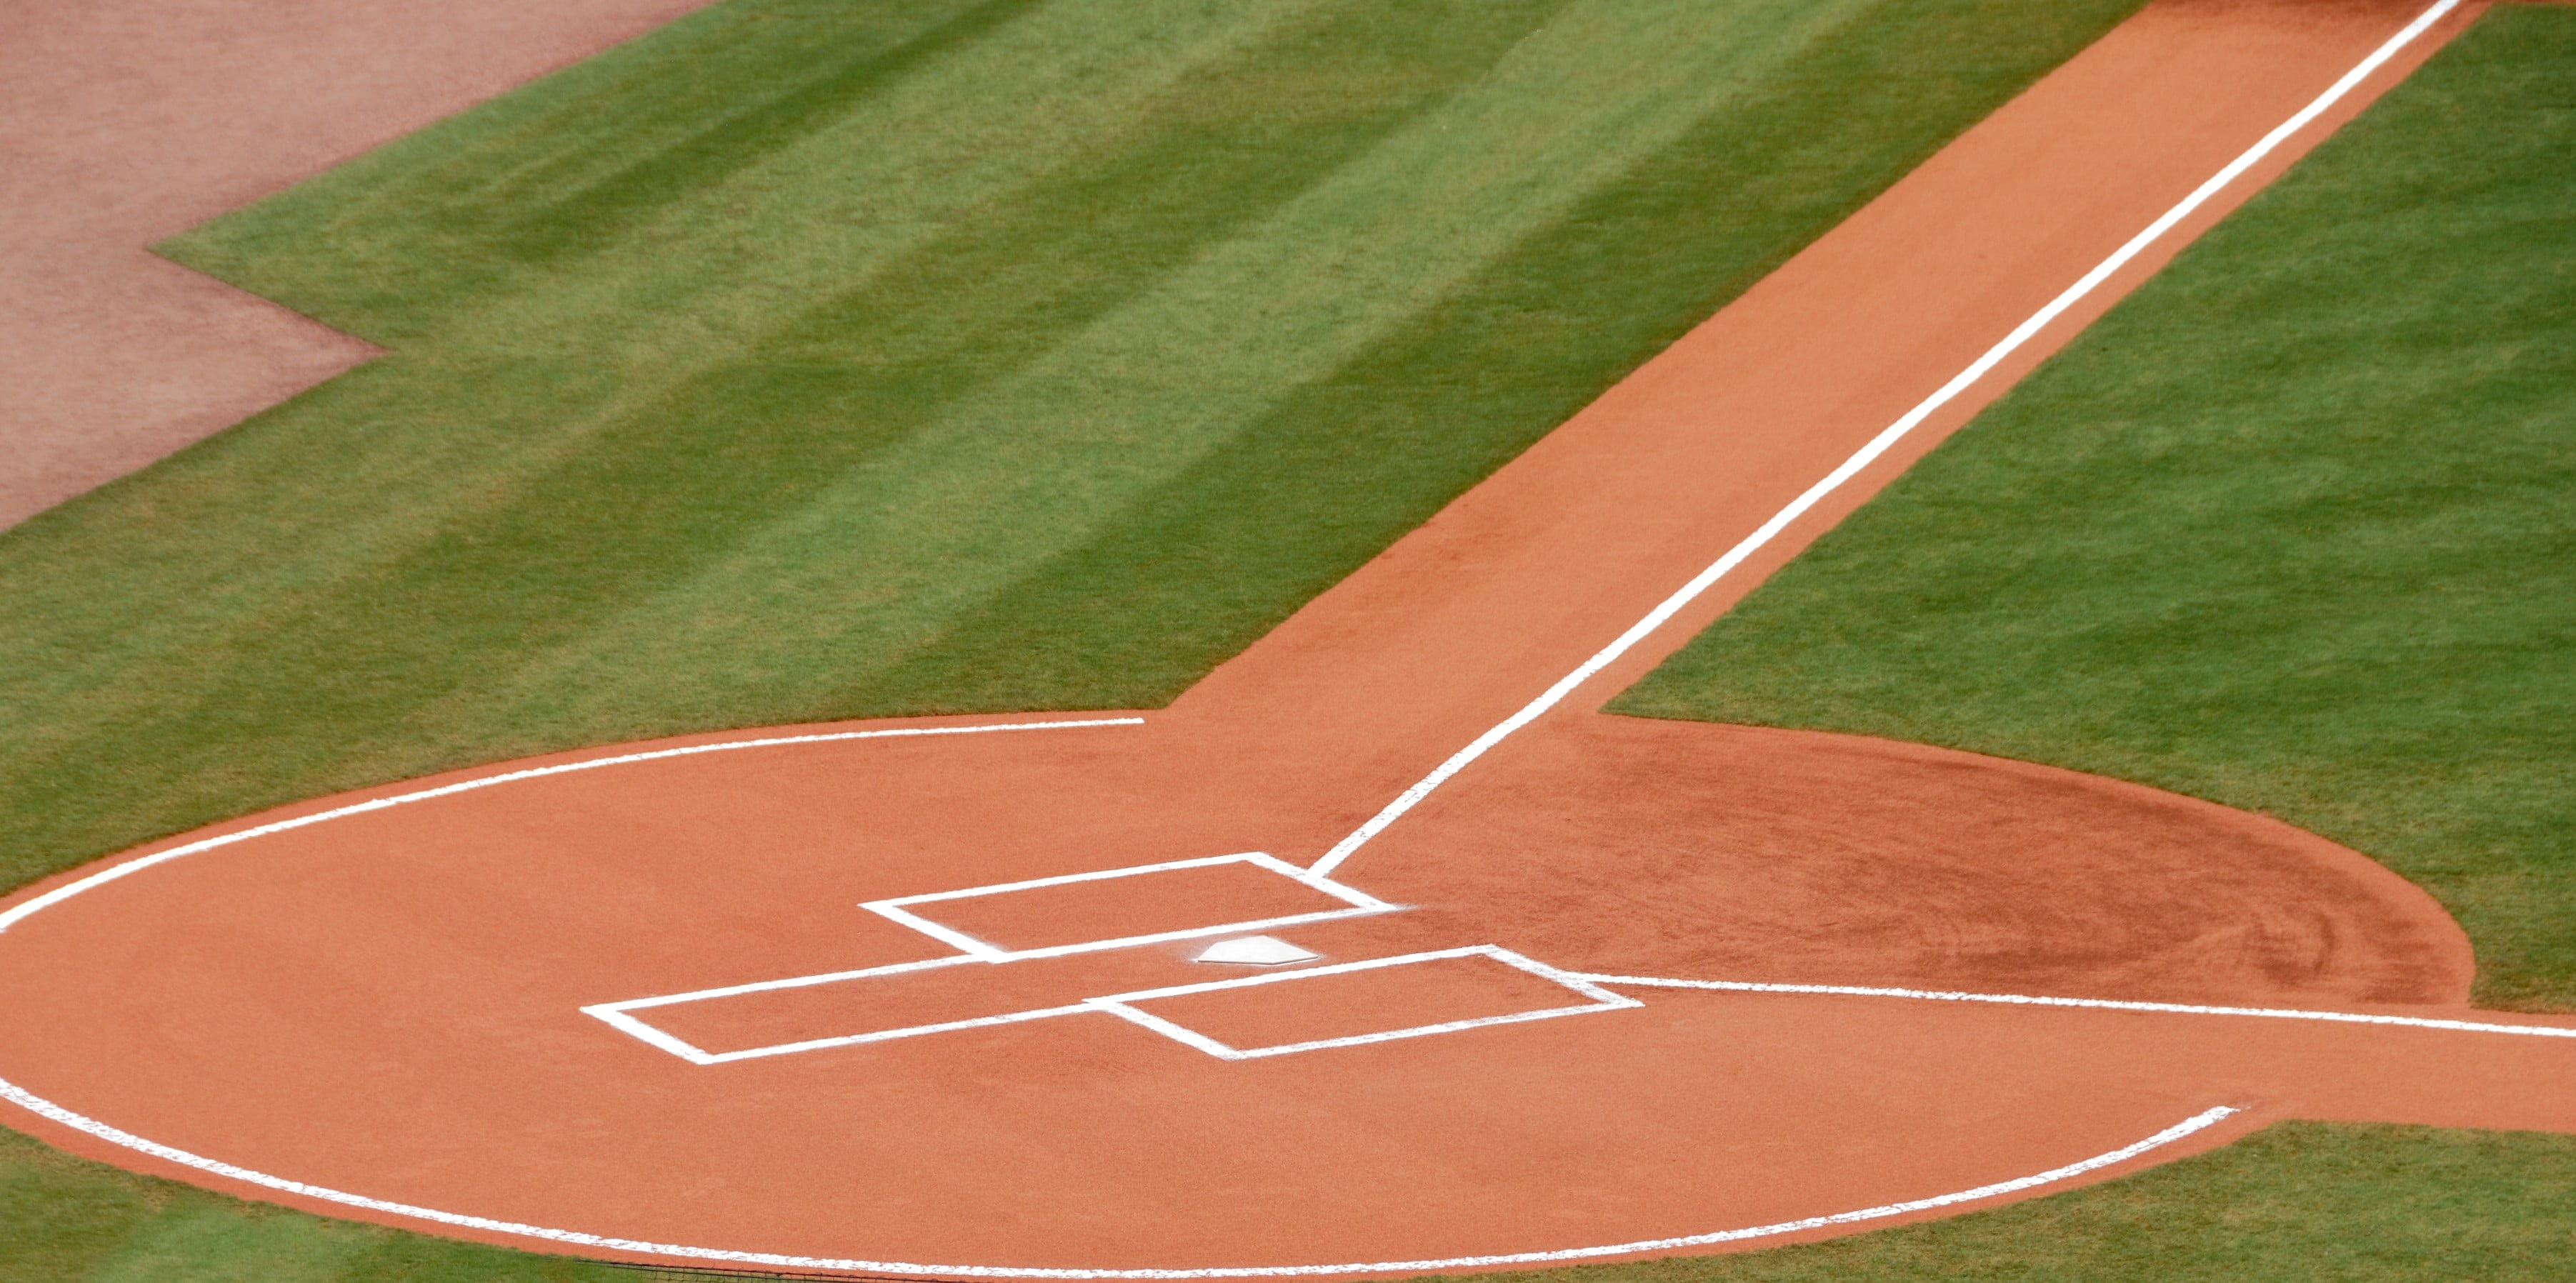
Foul lines are essential for determining fair and foul balls, so it’s crucial to chalk them accurately. To measure and mark the foul line, use a measuring tape and a piece of string or a template.
The most effective method for chalking foul lines is to use a line chalker filled with powdered chalk or paint. It’s recommended to use paint, as it’s more beneficial for the soil and clay on the baseball field.
With the foul lines accurately chalked, let’s move on to discussing the catcher’s box in the foul territory.
The catcher’s box varies in size and shape depending on the level of play, and it should be marked accordingly. To delineate the catcher’s box, scribe in the soil according to the measurements indicated and then chalk or paint the area.
Utilizing a box chalker is an efficient technique for delineating a catcher’s box. Connect the points at the back of the batter’s boxes at the 7” mark in from the inside back corners to chalk the sides of the box. With the catcher’s box complete, we’ll move on to chalking coaches boxes.
Coaches boxes are important for directing players and coaches during gameplay and should be chalked according to league regulations. To chalk a coach’s box, connect the points at the back of the batter’s boxes at the 7” mark in from the inside back corners with the sides of the box. Use a template to apply chalk along the inside of the box.
Following league regulations is essential, as penalties can be enforced for violating the coaches’ box rules according to NCAA rules.
With all field elements chalked, let’s discuss how to maintain and update the chalk lines during and between games.
Chalk lines can fade and become unclear during gameplay, so it’s important to maintain and update them throughout the game and between innings. This ensures clear and visible markings for players and umpires to follow.
In this section, we’ll explore techniques for maintaining and updating chalk lines during the game and between innings.
Regularly checking and touching up chalk lines during the game helps maintain visibility and accuracy. To ensure the longevity of chalk lines during a game, assign a designated individual to rake the base paths along the chalk lines. Additionally, it’s recommended to use paint instead of chalk for the foul lines, as it’s more durable.
When updating chalk lines during the game, use a rake and paint to maintain and revise the markings. By doing so, you’ll keep the field looking pristine and ensure that players and umpires can easily discern the markings.
Updating chalk lines between innings prevents them from fading and becoming unclear. To sustain and revise chalk lines between innings, use a rake to even out the lines and add chalk where needed. Additionally, rake the base paths adjacent to the chalk lines to keep them looking pristine.
The frequency of updating the chalk lines depends on the weather conditions and use of the field. By maintaining and updating chalk lines between innings, you’ll ensure that the field remains well-marked and organized throughout the entire game.

Creating a well-maintained and hazard-free playing field requires adherence to best practices and safety precautions. In this section, we’ll discuss the importance of proper storage of chalk and safe application techniques, ensuring that your field remains in top-notch condition throughout the season.
Chalk should be stored in a cool, dry place away from direct sunlight. It should also be kept away from any sources of heat, such as radiators or heaters. When applying chalk to the surface, the chalk will be applied to the surface.
Storing chalk away from heat and rain preserves its quality and effectiveness. To store chalk properly, place it in a dry, airtight container to prevent moisture from entering.
Additionally, it’s essential to ensure that chalk is not exposed to direct sunlight or extreme temperatures. By storing chalk appropriately, you’ll maintain its quality, ensuring that your field remains well-marked and professional-looking.
Safe application techniques are crucial to prevent over-chalking and potential hazards for players on the field. When applying chalk, use a gentle touch and drag it into the base paths. Over-chalking can lead to a slippery surface, posing a danger to those on the field.
When applying chalk, it’s recommended to use protective gear such as a dust mask and gloves to avoid inhaling the chalk dust. By following safe application techniques, you’ll create a well-maintained and hazard-free playing field for all to enjoy.
Mastering the art of chalking a baseball batter’s box and other field elements is essential for maintaining a professional and safe playing field. By following the step-by-step guide, best practices, and safety precautions outlined in this blog post, you’ll transform your local baseball field into a major league-worthy battleground.
So grab your chalk, gather your tools, and get ready to create a pristine and well-marked field that will impress players, umpires, and spectators alike. With practice and dedication, you’ll become an expert in chalking baseball fields, ensuring a top-notch playing experience for all.
The best tool for chalking a baseball field is a line chalker. This device can easily be filled with marking chalk and set to your desired width so that you can wheel it over the field for quick, accurate lines.
Using a line chalker is a great way to ensure that your field is properly marked and ready for play. It is also a great way to save time.
The chalk line is typically placed at least 6 feet from home plate for adult baseball, 4 feet for youth softball, and 6 feet for adult softball.
Therefore, the chalk line is a minimum of 6 feet away from home plate.
Yes, the chalk line is part of the batter’s box. It creates a 9-foot by 4-foot area which defines the batter’s box in baseball.
Choosing the correct type of chalk and applicator pad for the field is essential to successful marking; consider texture, color, size and shape to ensure optimal results.
Pay attention to the type of surface you are marking on, as this will determine the type of chalk and applicator pad you should use. Different surfaces require different types of chalk and applicator pads to ensure optimal results.
Choose a chalkboard.
In order to ensure accuracy, measure and mark the batter’s box with dimensions of 6 or 7 feet in length and 4 feet in width according to official baseball regulations, making sure to align its center with the center of home plate.
This will ensure that the batter’s box is properly sized and positioned for the game.
Chris Sloan is a former baseball league commissioner and travel baseball coach who has made significant contributions to the sport. In 2018, he founded selectbaseballteams.com, a website that helps parents find youth and travel baseball teams in their local areas. Since its launch, the website has experienced impressive growth, offering a wealth of resources including teams, news, tournaments, and organizations. Chris's unwavering passion for baseball and his innovative approach to connecting parents with quality baseball programs have earned him a respected reputation in the baseball community, solidifying his legacy as a leading figure in the world of youth and travel baseball.
There are 0 comments on "How to Chalk a Baseball Batter's Box - A Step-By-Step Guide"


chandler allen says:
"Hi my name is chandler, i’ve enjoyed..."
On Wanting to tryout for summer ball. as an 18 year old
david graham says:
"With no current MLB team in Canada,..."
On With no current MLB team in
Charles Chavez says:
"To All Coaches: Do you have13U or..."
On Looking for Games